
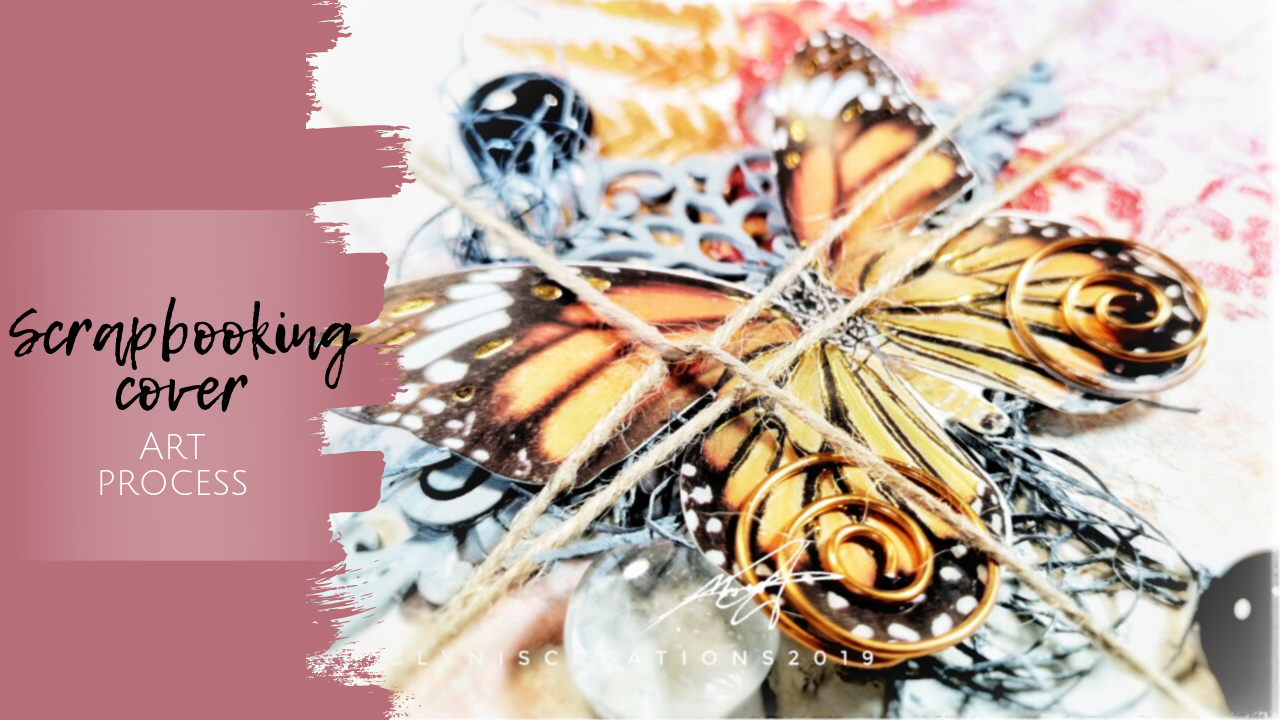
I am back again with a scrapbook / journal cover page layout.
This project is one of the most simplistic mixed media art that I have done. The inspiration comes from my second fall collection in my Etsy shop: https://www.etsy.com/ca/shop/DetailedLetters?ref=search_shop_redirect
Color schemes and mood board for this collection:
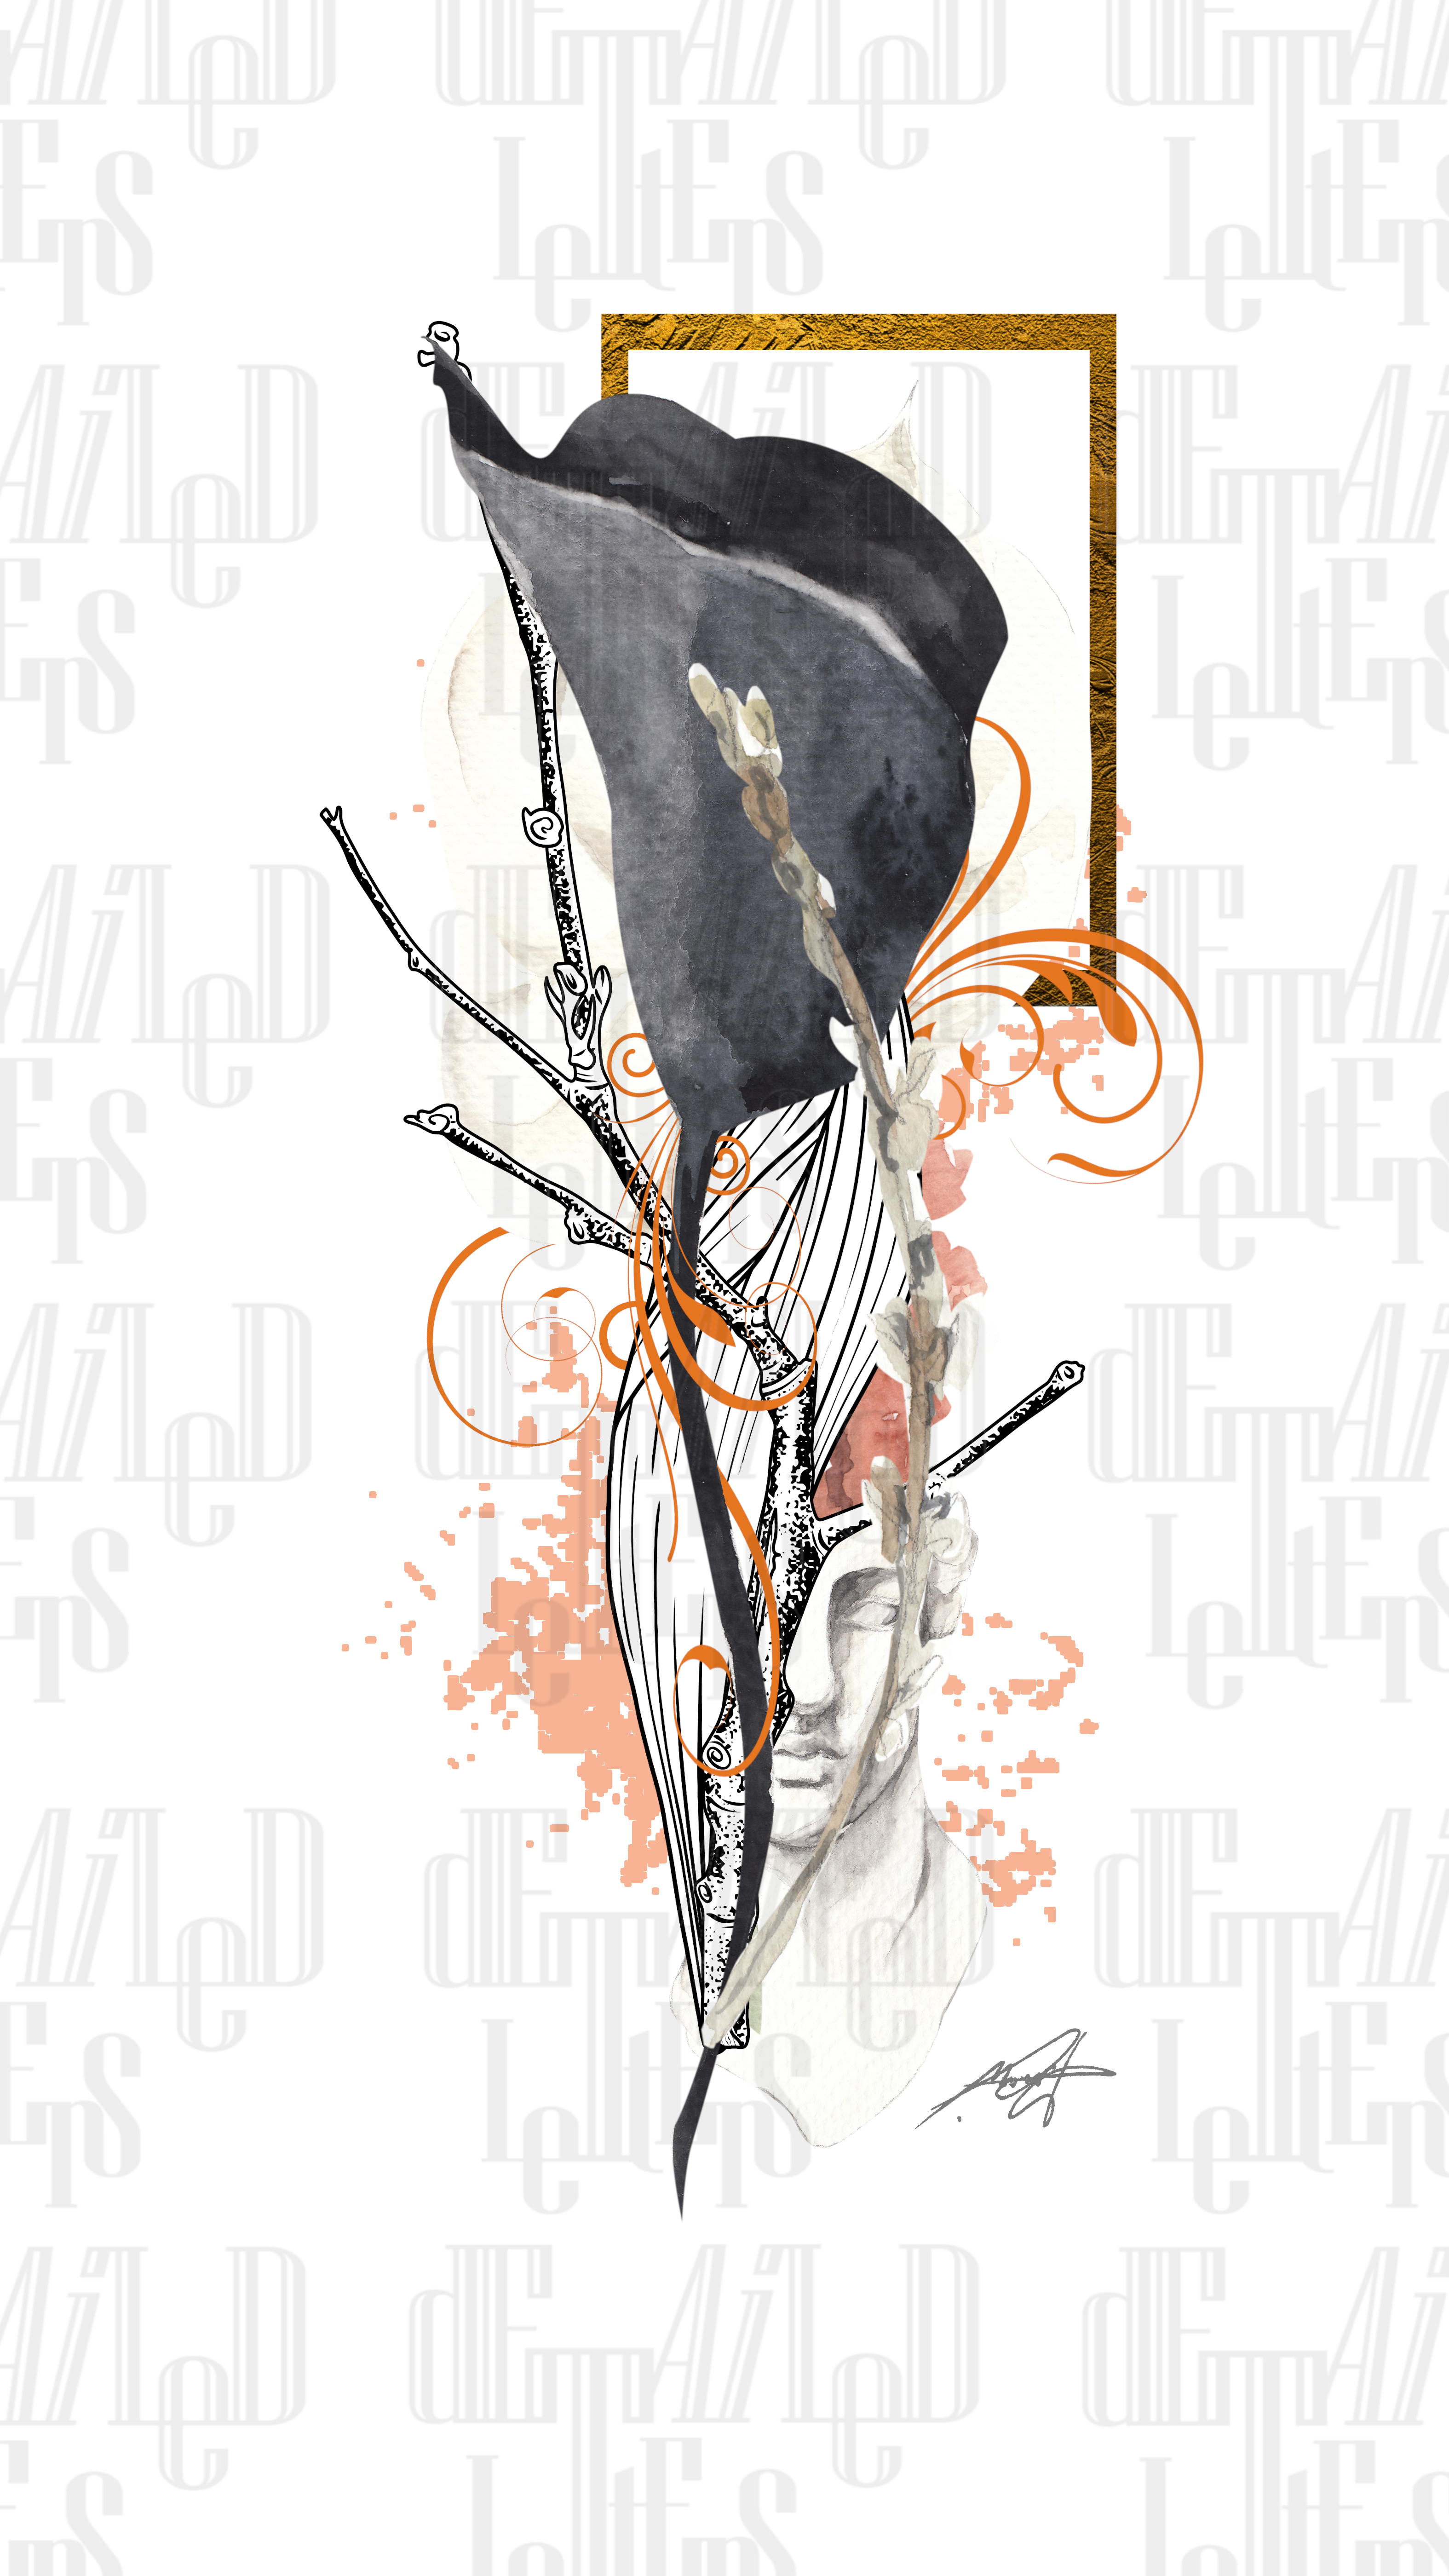
The layout’s simplicity of this letter art print collection reflects on this art project. The difference between the orange tones is the emphasis of this project. This is possible by using distinctive orange colours and textures.
This is the canvas that I am using in this project: 8 x 12 inches journal or scrapbook album – AliExpress: http://bit.ly/2OZug0R.
Creating your background
The only primer that I am using in my mixed media art projects is Artist Loft White Gesso: http://bit.ly/whtgssoMchls. The opacity is not that great, therefore, applying two to three coats is a must in this project.
Establishing a base colour is important.
This is done by combining these orange acrylic paints with the use of a cosmetic sponge:
- Craft Smart Acrylic Paint Dark Orange: http://bit.ly/2N32duN
- Craft Smart® Acrylic Paint Orange: http://bit.ly/2MkCe2d
- Martha Stewart Crafts Pearl & Metallic Acrylic Craft Paint Set (2-Ounce), 32310 (10 Colors): https://amzn.to/2LdFgnz Tiger Lily colour
Using a cosmetic sponge as a blending tool for acrylic paints is one of the techniques that I love using in my projects.
Here are a few videos exhibiting the use of a cosmetic sponge to blend in acrylic colours:
Shortly after the acrylic paint dries, the application of a liquid crackle medium follows. This is one of the texture techniques that I also enjoy to do with this product: DIY Home Chalk Crackle Medium by ArtMinds®, 8oz.: http://bit.ly/crcklchlkMchls
This medium needs a top coat of acrylic colour for the crackle textures to show. In this case, I am using a warmer tone of white acrylic paint, Craft Smart Vanilla acrylic paint: http://bit.ly/2JkKOfS, to place a “faded” orange look.
Next portion is a technique that imitates the look of an acrylic pouring technique. The final look is not an exact copy of the acrylic pouring technique, but it gives different acrylic colours an unusual pattern of application.
The goal of this method is to mix the orange and vanilla acrylic paints without over blending. Once the paint dries, I am following up with another coat of liquid crackle medium to produce more textures as I create more layers.
I am using the same white paint on some areas of the canvas To diminish the appearance of the orange colour. This ends the manner of creating your background.
Adding textures
The second layer of textures
This layer of texture begins with the use of a stencil, acrylic paint and cosmetic sponge.
- Multi-Surface Premium Ultra Bright Metallic Paint By Craft Smart® Vintage Gold: http://bit.ly/2KRisIN
- Set of 4 foliage stencils AliExpress: http://bit.ly/2LCAv7s
This method is one of the ways that I’d like to do with a stencil. It requires stamping motions with the use of the sponge and acrylic paint.
Another layer with a different texture shortly follows the first stencil work. This time I am using the Finnabair Patina Effect Paste to add a diverse detail on my canvas.
- 4 pcs of Vintage Flower and Leaves stencil – AliExpress: http://bit.ly/2YUvhLY
- *Prima – Finnabair – Art Extravagance – Texture Fantasy – Patina Paste – Anemone and Coral: http://shrsl.com/1oz5z
After these layers are dry, I am applying the liquid crackle medium again.
Up next is stamping with the use of an archival ink stamp pad and a silicone rubber stamp. The stamping part is unnecessary, but I want to try it anyway. In the end, I am concealing the handwritten design with the white acrylic paint.
- Ranger Ink – Tim Holtz – Distress Archival Ink Pads – Mini Kit – Three: http://shrsl.com/1lqpx
- Handwritten design stamp – AliExpress: http://bit.ly/2wEHxQt
- Vintage leaves stamp – AliExpress: http://bit.ly/2N4Qiwm
The third layer: embellishments
Using embellishments can bring our the beauty of the canvas as a whole. It is a necessary finishing touch, in my opinion. It is also essential to put a primer on these embellishments.
- Corner wooden vintage embellishment – AliExpress: http://bit.ly/2ZbKCHs
- Triangular vintage design embellishment: http://bit.ly/2KC23cL
- Artificial straw from the thrift store
- Butterfly image from the dollar store
- Paper clips from the dollar store
- Transparent and black vase fillers from the dollar store
- Multipurpose Medium Jute | Canadian Tire: http://bit.ly/2KCw7nY
I want to use a grey coloured embellishment, so I am painting them with a combination of grey, black and white acrylic paints. In the end, I am solely painting them with grey paint.
- Craft Smart Grey – Michaels: http://bit.ly/2YkK9yG
- Craft Smart® Acrylic Paint Black – Michaels: http://bit.ly/2OUH20r
- Craft Smart Vanilla acrylic paint – Michaels: http://bit.ly/2JkKOfS
I am using the Tacky glue from Walmart as a glue for all the elements in this project. If you are looking for a cheaper mixed media art glue, this is a good option for you.
- Aleene’s 36116 Original Tacky Glue 3 Pack, 8 oz: Amazon.ca: Home & Kitchen: https://amzn.to/2YVgaCc
There you have it! I hope that you find inspiration on my art work ❤


